For riders and builders alike, having a warped deck can be very frustrating. Skateboards (like any piece of wood) can warp over time as the fibres in wood expand and contract with seasonal/temperature changes. Decks can also be affected by moisture and inconsistencies in the glue between layers.

When you are not using your board, keep it stored in a controlled environment whenever possible. Try not to leave your board for extended periods of time in places that can be subject to extreme heat or cold, like your garage or the trunk of your car - and always keep your board dry! This will help control the moisture content of the wood and prevent unnecessary expansion and contraction of the veneers.
Now, we know that's not always possible... sometimes you just gotta take your board out in the rain and get your greezy slides on, or throw it in a jammed trunk for a long road trip. Either way, if you find yourself with a warped deck, we've got a relatively easy DIY solution to try and fix it.
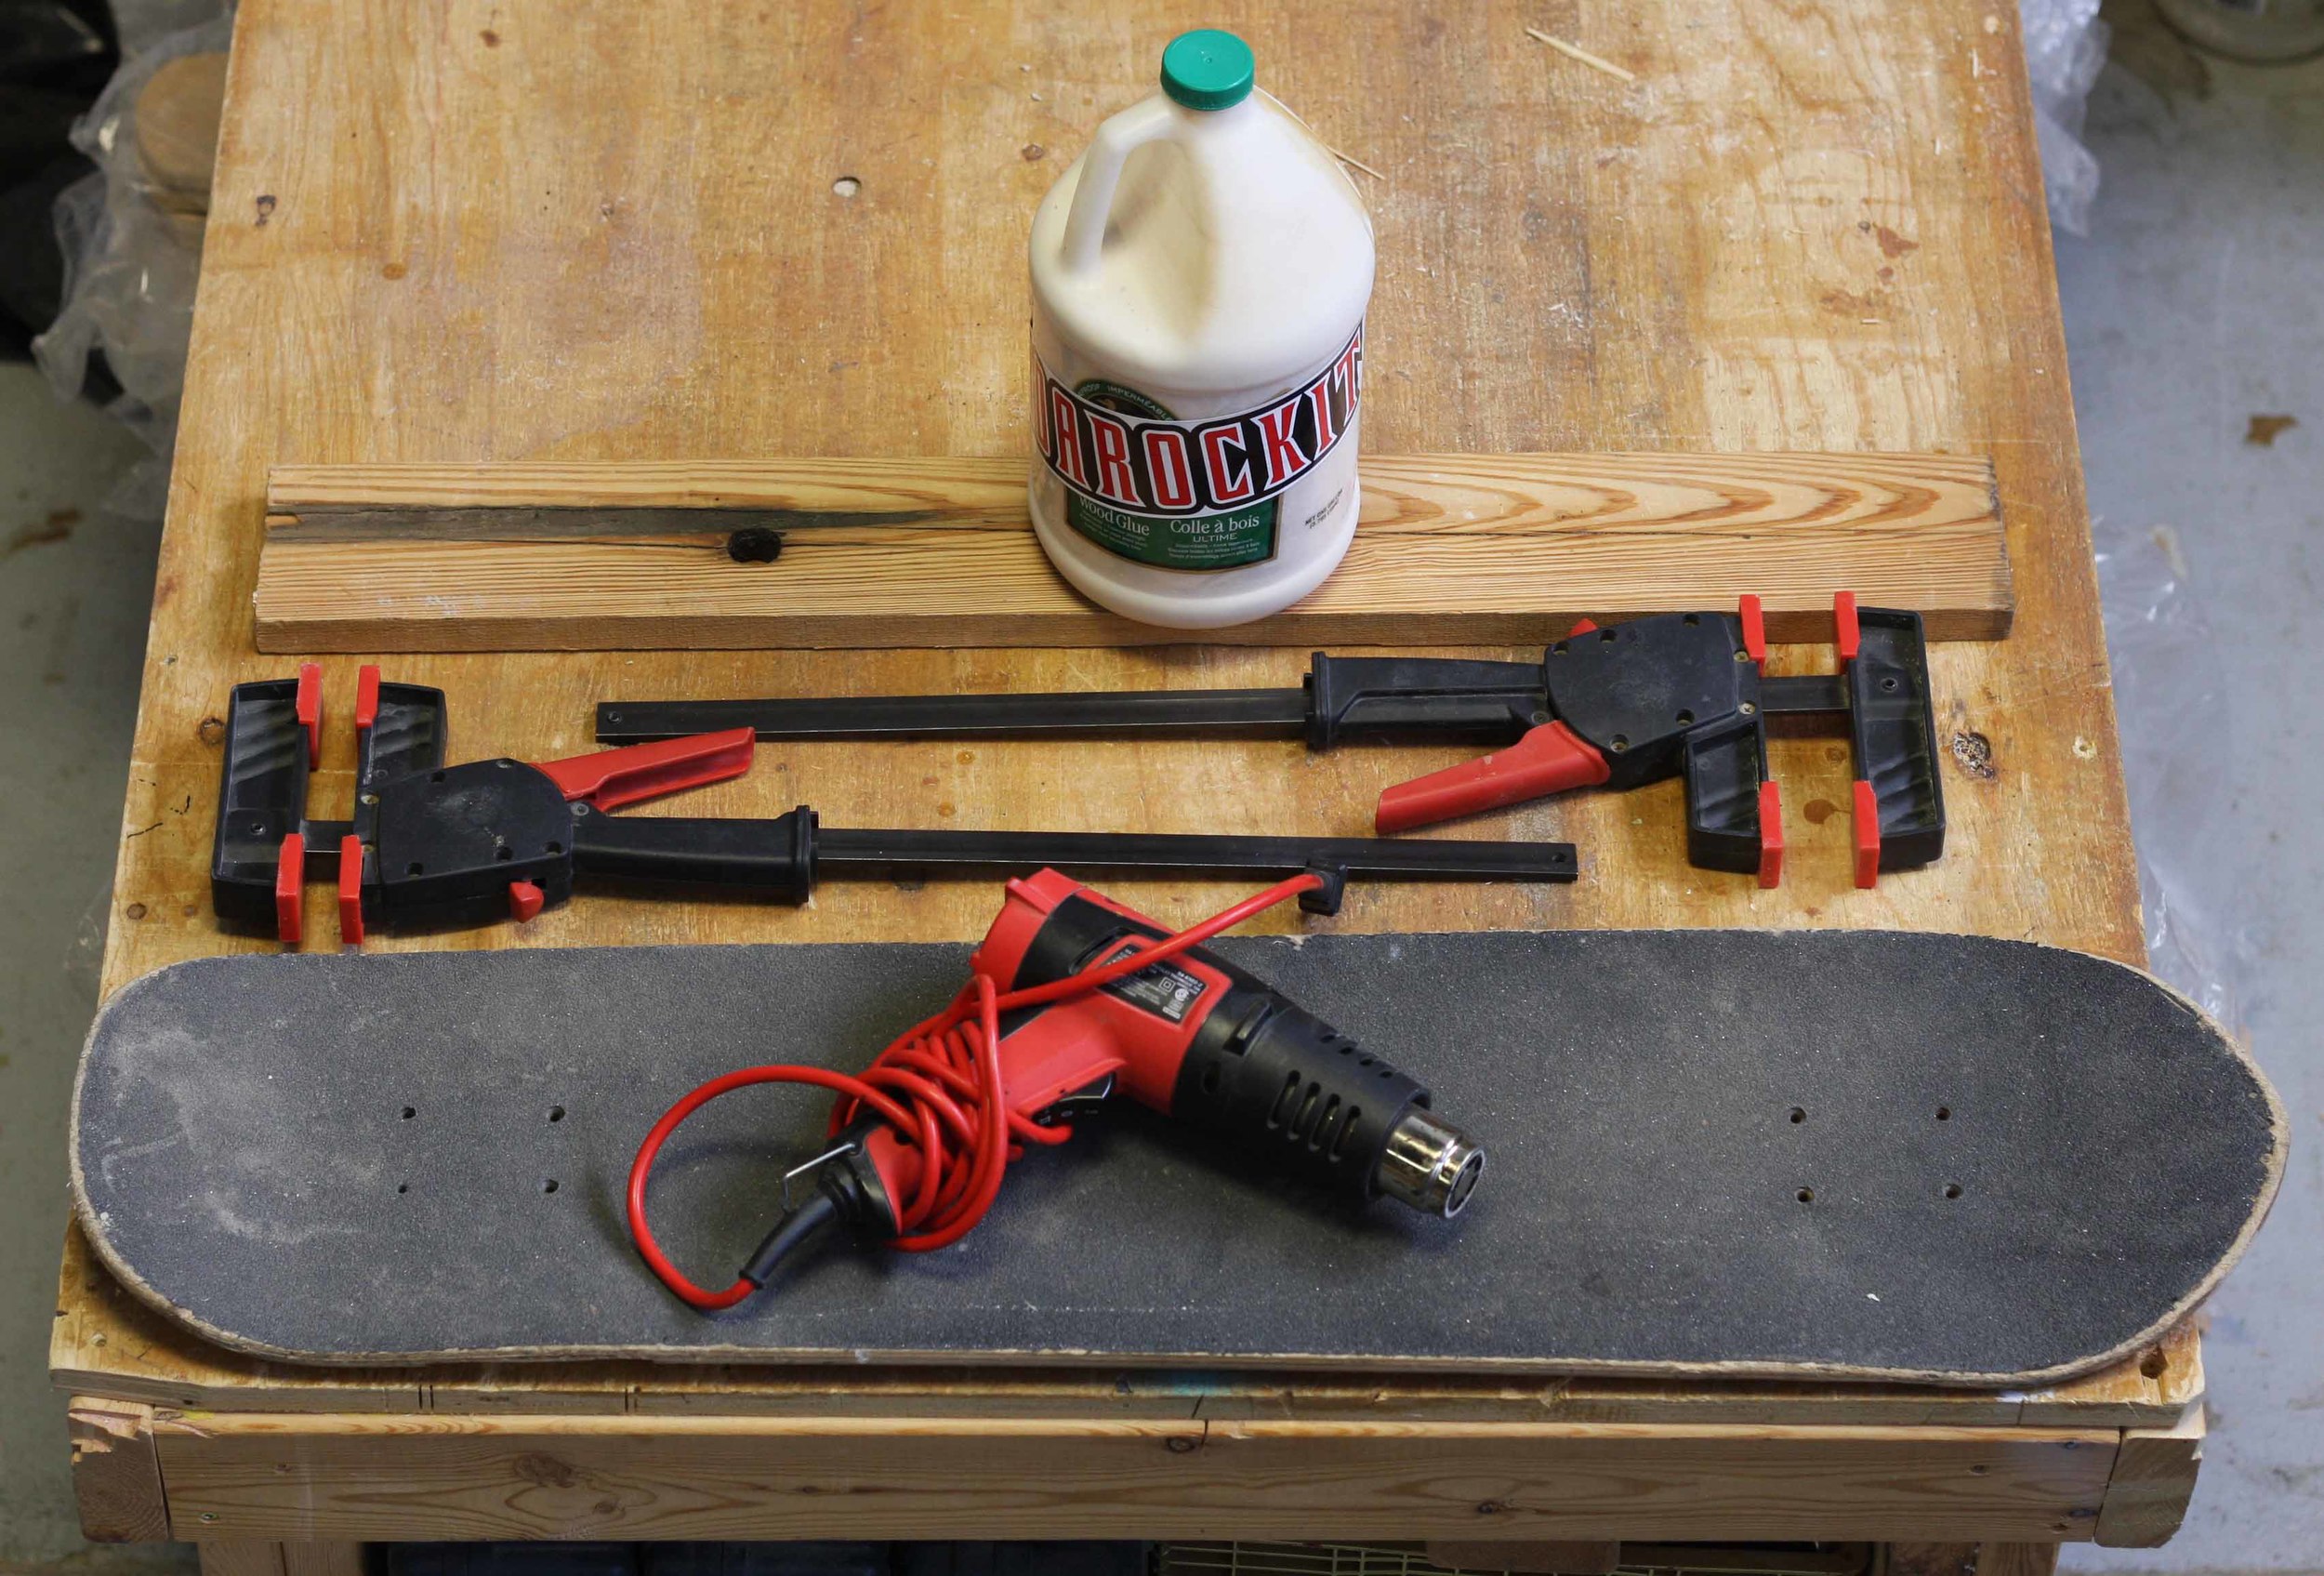
TOOLS & MATERIALS NEEDED:
- at least 2 clamps
- heat gun (best) or hairdryer (not as good)
- solid length of material, to be used as a lever
- weighted object (e.g. gallon of glue, brick, can of paint)
STEP 1:
Determine where the warping in your board starts. Sometimes this can be tricky as warps are always different. It may start at the nose and gradually run all the way to the tail, or there may be two entirely different warps happening over the length of the board. You may need to try it a few times, but with a little practice you will start to recognize how to correct different bends in your board.
STEP 2:
Warm the affected areas with the heat gun for about 5-10 minutes. What this does is 'reactivates' the glue in between your layers of veneer, and allow you to bend the board back straight when the glue sets. There may be multiple areas that need bending, but it is a good idea to focus on one at a time.

STEP 3:
Clamp one end of your deck to a solid surface like a table, and clamp a length of wood (or other solid length of material) to the overhanging portion of your deck. You will than place the weighted object onto the extended length of wood to act as a cantilever to bend your board back straight.
*Note* This is the part that will really take some practice. There are many different combinations of where to clamp the board, and where to place the weight that can affect how your board bends. Some bends may require more weight to counteract the warping, and the type of wood, length of your board and type of glue used by the manufacturer may affect the results as well.

Once your board looks like it is in a stable and straight position, leave it clamped and weighted for at least a few hours to let the glue reset. When you are ready to check on your board, make note of where the clamps and weight were positioned in case you need to tweak the setup and try again.
Using this method will give you a basic understanding of how to counteract the warping effect. It's cheap, simple and can be very effective. It may not work perfectly every time, but if you can save even just one board being chopped from rotation... isn't it worth it?!